The second layer is first printed on acetate which is then used to register the print. (ie. placing the paper in proper position)

After registering the brown ink is applied to the screen with a spatula and then pulled onto the print with a squeegee.

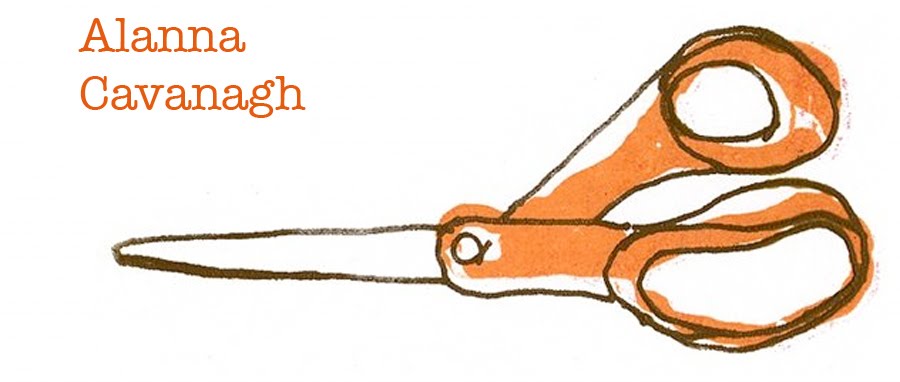
Ta da!

A bunch of judys drying.

Final signed and numbered print.


3 comments:
these last 2 posts made me smile...big...I love my Judy so much!!! xoox :)
I love Judy, big and small.
I loved these last two posts! I've been wanting to know more about the screen printing process, and now I'm seriously thinking of taking a class.
Also, I just thought I'd let you know (although you may have seen it already) that Jenny at LittleGreenNotebook.blogspot.com blogged about your Penguin book prints this morning.
Post a Comment